Looking to reap the benefits of detoxifying and relaxing in a spa without having to step out of your house? Learning how to build an Infrared Sauna at home is a manageable DIY project that can save you thousands of dollars when compared to buying a pre-built unit.
By having special infrared sauna panels and some basic carpentry skills, you can build a custom wellness retreat in your basement, bathroom or even outdoors.
This detailed guide will take you through all stages of the process – from choosing the right wood and heaters to wiring and assembly – so that you can be sure your homemade infrared sauna will be safe, efficient, and built to last.
Disclaimer: This guide is for informational purposes only. Working with electricity and tools of construction involves certain risks. We strongly recommend that you consult with a licensed electrician and follow all local building codes and safety regulations before attempting this project. The author and publisher make no liability for any damage, injury or loss that may be caused by using this information. Proceed at your own risk.
Key Takeaways
- Cost Savings: A DIY infrared sauna can be 50-70% less expensive than an equivalent pre-fabricated sauna.
- Heater Types: Choosing between Carbon and Ceramic heaters (or Near Infrared bulbs) determines the design and distribution of heat in your sauna.
- Wood Matters: Use non-toxic and hypoallergenic woods such as Cedar, Hemlock or Basswood; avoid plywood or treated woods that give off toxic fumes when heated.
- Safety First: Proper insulation and electrical grounding are non-negotiables when building a safe home.
- Location Flexibility: You can build in a closet, convert a shower, or build a stand-alone outdoor unit.
Why Build Your Own? DIY vs. Pre-Built Saunas
If you are wondering “can you build your own infrared sauna?” and the answer is a resounding yes. Many homeowners are repelled by the big price tags of luxury brands.
While there is a middle ground in the form of a diy infrared sauna kit, building from scratch provides you with total control over dimensions, wood type and heater placement.
According to discussions on platforms like diy infrared sauna reddit threads, the most common motivation will be customization. You can customize the bench height, ceiling height and even location of the control panel to suit the specific needs.
The Cost Breakdown
One of the first things that people want to ask is the diy infrared sauna cost.
- Pre-built 2-person sauna: $2,000 – $5,000+
- DIY Scratch Build: $800 – $1,800
- DIY Kit Assembly: $1,500 – $2,500
By getting your own lumber and infrared sauna panels for sale straight from manufacturers, you are keeping the costs low, without compromising quality.
Planning Your Homemade Infrared Sauna
Before you pick up a hammer, you need a good plan. This stage determines if you are converting an existing space or constructing a new structure.
1. Choose Your Location
- Indoor Build: Basements and spare rooms are best. They provide climate control while providing easy electrical access.
- DIY Infrared Sauna in Shower: A very popular trend is to take an existing shower stall. As showers are waterproof anyway, and often tiled on to the ground, you simply have to install the heaters and a door. However, be sure the heaters are rated for wet areas.
- How to Build an Outdoor Infrared Sauna: If you do not have the space to build indoors, it is possible to build an outdoor infrared sauna. However, you will need to insulate the walls well (R-13 or more) in order to be heat efficient in the colder months, and you also will need to make sure all electrical components are rated for exterior use.
2. Sizing and Layout
A typical 2 person sauna measures 4′ x 4′ or 4′ x 6′.
- Height: Keep a low ceiling (are around 6.5 to 7 feet). Infrared warms surfaces, not the air, so high ceilings are a waste of energy.
- Bench: The bench should be deep enough so you can lie down comfortably on it if that is the method of relaxation you prefer.
Key Materials and Tools
To learn how to make an infrared sauna at home, it is necessary to know the materials. Making mistakes with the wood or heaters can be deadly.
The Wood Selection
Do not use plywood, particle board or pressure treated lumber. These materials off-gas toxic formaldehyde and glues when heated to.
Recommended Woods:
- Western Red Cedar: The gold standard. Naturally resistant to mold, rot and bacteria. It has a distinctive smell, which is pleasant.
- Hemlock: A strong non-allergic hardwood. It lacks a scent, so it is ideal for people who have cedar allergies.
- Basswood: A soft, hypoallergenic hardwood commonly found in commercial saunas.
Infrared Heaters: The Core of the Sauna
There are three main options for infrared sauna panels when looking for one:
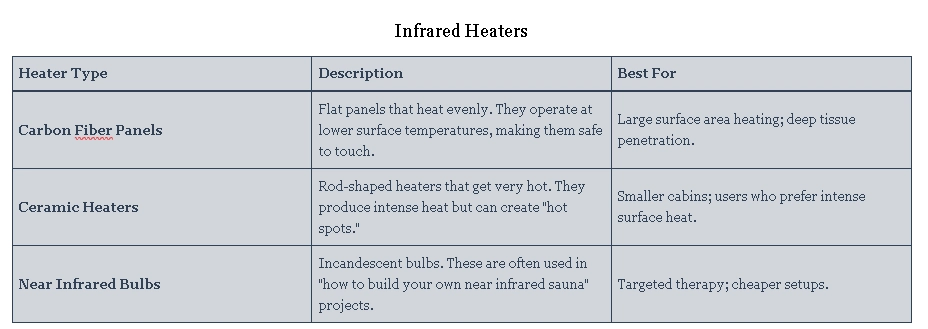
Infrared Heaters
| Heater Type | Description | Best For |
|---|---|---|
| Carbon Fiber Panels | Flat panels that heat evenly. They operate at lower surface temperatures, making them safe to touch. | Large surface area heating; deep tissue penetration. |
| Ceramic Heaters | Rod-shaped heaters that get very hot. They produce intense heat but can create “hot spots.” | Smaller cabins; users who prefer intense surface heat. |
| Near Infrared Bulbs | Incandescent bulbs. These are often used in “how to build your own near infrared sauna” projects. | Targeted therapy; cheaper setups. |
For a standard homemade infrared sauna, carbon panels are generally recommended for their even heat distribution and lower EMF (Electromagnetic Field) output.
Step by Step Construction Guide
This is the hands-on phase. Whether you are converting a closet or building a standalone structure, these steps outline the physical construction of your homemade infrared sauna.
Step 1: Framing the Structure
If you are making use of an existing room (such as a closet), you might forgo framing the exterior walls. However, if you are doing a standalone build, or if you want to make a double-wall that you can use for insulation, you will need to frame a skeleton.

- Materials: 2×4 lumber (kiln-dried) – framing nails or screws.
- The Process:
- Build the Base: If building on concrete, construct a floor frame out of pressure treated lumber. However, in case you are inside a home, you can build directly on the existing floor.
- Wall Studs: Your walls ought to be framed in 16-inch on-center locations. This standard spacing will insure that your tongue and groove planks have solid backing.
- Ceiling Joists: Frame ceiling to keep the walls from bowing out. Maintain ceiling height in between 6.5 to 7 feet maximum. Infrared Heat is transmitted as straight lines; the lower the ceiling the better you feel the benefits of the panels above.
- Door Framing: Frame a rough opening for your door. A conventional opening is about 24 inches wide by 72-75 inches high. Use a header (horizontal beam), over the door, to carry the load.
Step 2: Insulation (The Efficiency Layer)
Proper insulation is the difference between a professional feeling sauna, and a drafty box. It traps the heat that is generated by your infrared sauna panels.
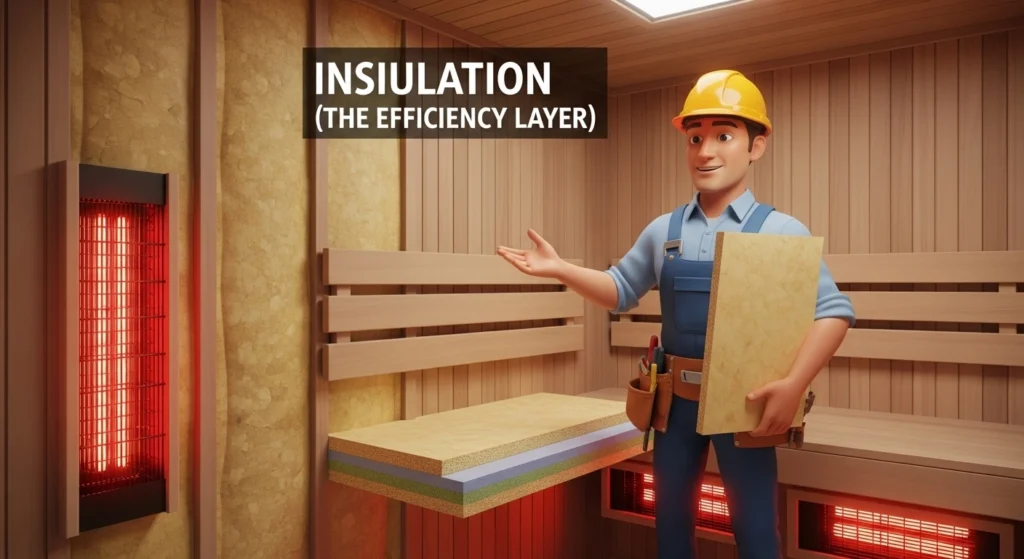
- Materials: R-13 fiberglass batt insulation or Rigid foam board
- The Process:
- Cut insulation to tightly fit between 2×4 studs. Do not compress the insulation, fluff it to fill the cavity.
- Pro Tip: If you are doing a cheap diy infrared sauna, fiberglass batts will be the cheapest. If budget allows, rigid foam board has a higher R-value per inch and is easier to work with without being itchy.
- Make sure all the cavities are filled. Gaps will form “cold spots” on the walls.
Step 3: Vapor Barrier and the Foil Reflection
This is arguably the most crucial step for safety/performance. This layer stops moisture from rotting your walls, as well as reflecting the heat back into your body.
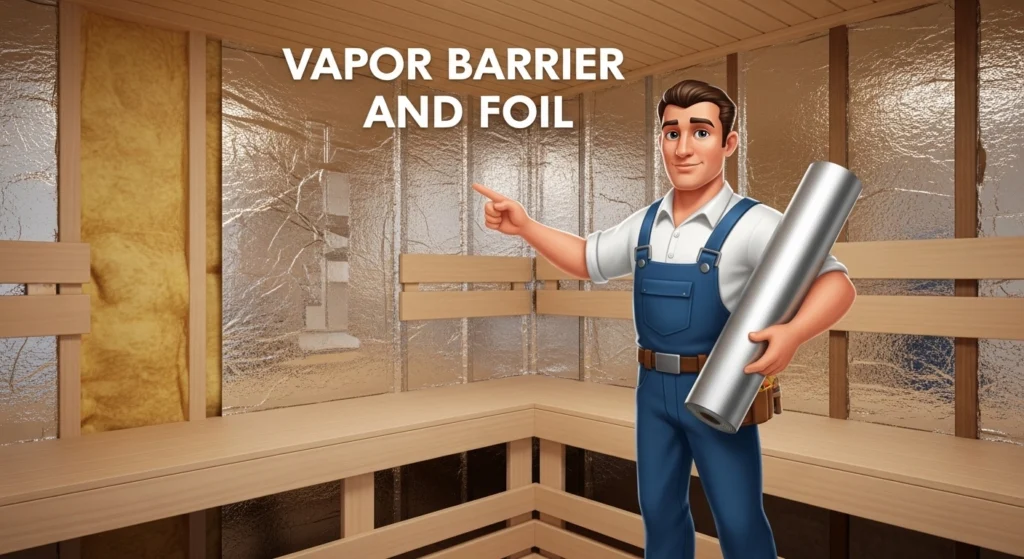
- Materials: 6 Mil polyethylene plastic sheeting (vapor barrier), aluminum foil radiant barrier
- The Process:
- Vapor Barrier: Staple the plastic sheeting up over the insulation and studs. Overlap seams by 6 inches and tape with vapor barrier tape. This prevents the insulation from moisture from your sweat.
- Radiant Barrier: The foil barrier should be installed on top of the plastic. This shiny aluminum side should be inside the sauna.
- Why? Infrared energy does not heat air; it heats objects. Without this foil, this heat would be absorbed into the insulation and studs, wasting energy. The waves are bounced back to you by the foil.
Step 4: Tongue and Groove Paneling (The Finish Work)
Now the sauna starts to look like a sauna. This wood is over the foil and makes the gorgeous interior.

- Materials: Cedar, Hemlock or Basswood T&G Panels, Stainless steel finish nails (1.5 inch to 2 inch).
- The Process:
- Acclimatize the Wood: Bring your wood into the place where the sauna will be constructed 3-5 days before construction. This enables the MC to adapt and avoid ware later.
- Start at the Bottom: Rest your first plank on the floor, groove side down.
- Blind Nailing: Nail through the “tongue” of the piece of board at a 45 degree angle. This hides the nail heads. The next board will slide into the groove covering the nail.
- Safety Warning: Do not place glue. Standard construction adhesives give off toxic fumes at 120degF+. Only use mechanical fasteners (nails/screws).
- Cutouts: When you get to the area for heaters or lights, measure carefully and make holes in the wood before nailing it up. You need to make sure you know just where your studs are for mounting heavy heaters.
Step 5: Wiring for Electricity and Installation of Heater
We highly recommend that you hire a licensed electrician to do this step to make sure it is code and safe.
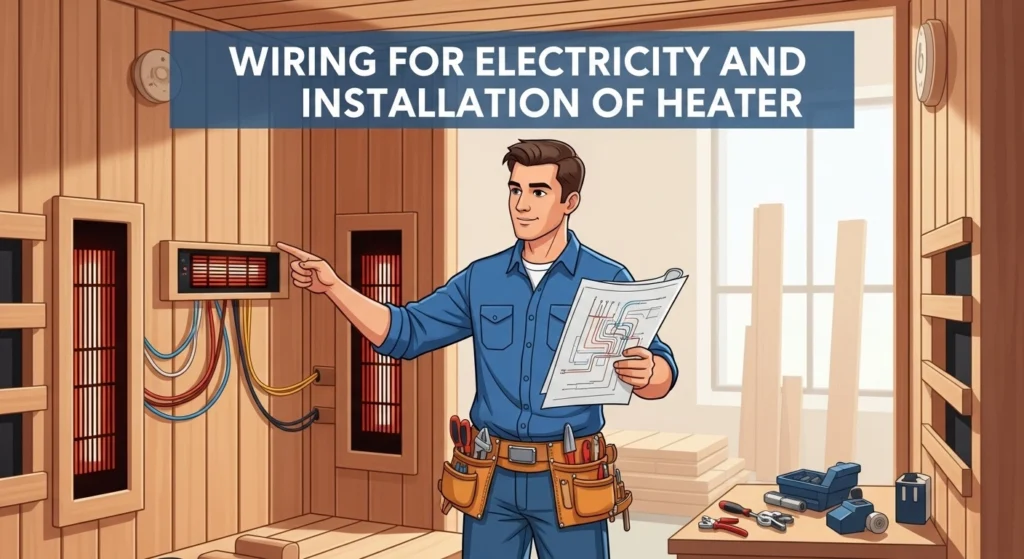
- Materials: Infrared heater panels, thermostat controller, Wire (usually 12/2 or 10/2 Romex depending on amperage), Junction box.
- The Process:
- Calculate Load: Your heaters are calculated by adding up the wattage. (e.g. 4 panels x 300 watts = 1200 watts). On a 120V circuit, this draws 10 amps. You are usually looking for a dedicated 15A or 20A breaker. For larger saunas 240V is standard.
- Mount Panels: Using the manufacturer’s screws, attach the infrared sauna panels to the wall studs. Have them at back-height and also calf-height for best therapy.
- Run Wiring: Run wiring from the panels to your control box (usually located near the door) hide wires in the walls behind the T&G planks or in surface-mounted raceways (wire channels).
- Thermostat Sensor: Install the thermostat sensor away from direct line-of-sight with the heaters. If it’s too close, it will read “max temp” too quickly and shut the sauna off before the room is warm.
Step 6: Bench Construction
You need a comfortable place to sit on. A floating bench has a sleek appearance and is easier to clean under.
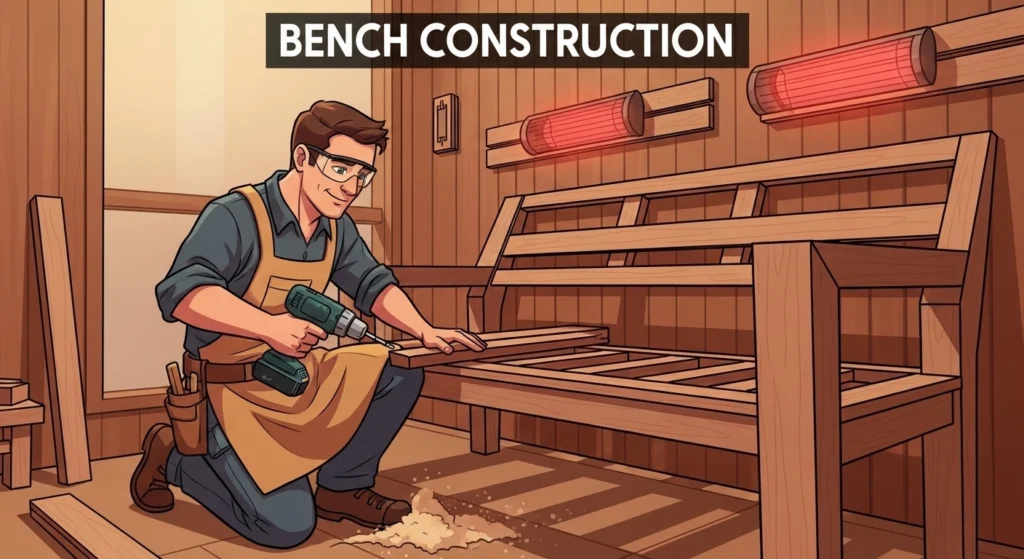
- Materials: Same as walls – T&G wood, 2×4 cleats.
- The Process:
- Support Cleats: Screw 2×4 cleats (horizontal supports) to the wall studs. These will hold the bench.
- Bench Slats: Make the bench top by nailing T&G boards on a frame underneath. Make sure the frame is held firmly on the cleats.
- Tip: Do not nail the bench permanently into the cleats. Let it sit loose (or use brackets) in order to lift the bench out to clean the floor beneath.
Step 7: Door and Ventilation
Ventilation: Cut a 4-inch hole near the floor (intake) and 1 near the ceiling (exhaust) on opposite walls. Cover with wood vent covers. This ensures fresh oxygen without a draft.
Door: Use a pre-hung sauna door or construct a door using double layer T&G boards. Apply a quality weatherstripping to the door frame. A tight seal is a must if you want to know how to make your infrared sauna hotter efficiently.
Assembly and Troubleshooting Tips
If you went with the diy approach of an infrared sauna kit, the assembly process is similar but simplified. You will be provided with pre-built panels. When determining how to assemble infrared sauna kits, make sure that the cam locks are tight and that the electrical plugs between panels are pushed in place.
How to Make Your Infrared Sauna Hotter
A common complaint among DIYers, therefore, is a lack of heat. Here is how to use infrared sauna hotter:
- Check Seals: Make sure that the door seal is airtight. The #1 enemy of sauna heat are drafts.
- Pre-heat: Turn the sauna 15-20 minutes before you enter.
- Reflective Barrier: Check to see if you have a proper reflective foil behind the wood.
- Heater Placement: If you are using a cheap diy infrared sauna setup, you may need to buy another heater panel in order to achieve optimal temperatures (120°F – 140°F).
Maintenance: How to Clean your Infrared Sauna Wood
Taking care of your sauna will be the difference between a sauna that will last for decades.
- Routine Cleaning: Clean benches with a damp cloth and mild, non-toxic soap (such as Castile soap) after heavy use.
- Deep Cleaning: To know how to clean infrared sauna wood deeply, you can use a light sandpaper (fine grit) and get rid of sweat stains or odors absorbed into the wood.
- Disinfecting: If you are wondering how to disinfect infrared sauna surfaces, stay away from bleach. Instead, use a mixture consisting of water and vinegar, or a special sauna cleaner.
You May Also Like To Read:
FAQs
Can you make your own infrared sauna?
Yes. With some basic carpentry skills and electrical knowledge (or hire an electrician) you can build your own infrared sauna in a cost effective project that can be fully customised.
What is the best wood to use for a DIY sauna?
Western Red Cedar is considered to be the best because of its anti-microbial properties and resistance to moisture. Hemlock is the best alternative for those who are sensitive to scents.
How much does it cost to build an infrared sauna?
A DIY build will usually cost between $800 and $1,800 depending on size and the quality of heaters used. Pre-built units typically begin at $2,000 or more.
Do I need to have a vent in an infrared sauna?
Yes. While infrared saunas use lower temperatures, to be comfortable, you need to get fresh air going.
How do I turn up the heat on my infrared sauna?
To boost up the heat, make sure the room is well-insulated, the door seals are tight and that you preheat the unit for at least 15 minutes before it is used. Adding another heater panel can also be a solution to temperature problems.
Final Thoughts
Mastering how to build an infrared sauna at home is a rewarding project that pays dividends in health and relaxation. Whether you choose to convert a shower, construct a backyard sanctuary, or build a dedicated indoor room, the process is accessible to the average DIYer.
By selecting high-quality infrared sauna panels, using non-toxic wood, and ensuring proper insulation, you can create a sanctuary that rivals expensive commercial spas.
Start planning your build today and enjoy the comfort of a homemade infrared sauna tailored exactly to your needs.