If you’re wondering about how to build a steam sauna at home, the process includes creating a room that is sealed and moisture-proof, installing a steam generator of the proper size, ensuring that electrical and plumbing connections are safe, and making the area as livable as possible with tile or waterproof surfaces designed for high humidity levels.
With a little planning, the right materials and an eye for safety, you can have a relaxing spa-quality steam sauna at home – all without a call to a luxury contractor.
This detailed, step-by-step guide takes you through everything: planning, materials, cost estimates, design ideas, indoor and outdoor options, and safety considerations based on expert experience.
Disclaimer: This article is for information only. Building a steam sauna requires a complex plumbing system, electrical work and modifications to the structure around the sauna which can cause major safety hazards if not done properly. Always consult with licensed professionals (electricians and plumbers) and follow your local building codes and permit requirements before starting your project. The author and publisher make no liability for any damages, injuries, and losses caused by the use of this information.
Key Takeaways
- Location Matters: You can create your indoor steam sauna in a closet, bathroom or dedicated room or choose to do an outdoor structure if you have space in your garden.
- Waterproofing is Non-Negotiable: Unlike a dry sauna, a steam room needs a fully waterproof (often tiled) enclosure to ensure that mold and structural damage don’t occur.
- The Generator is the Heart: It is very important that you get your steam generator sized right, too small and it won’t get hot enough and too big it is just wasted
- Ventilation and Drainage: Proper ventilation and a slope are important to ensure that the environment remains hygienic and safe.
- Safety First: Electricity (GFCI, dedicated circuits) and door placement (outward swing) are important safety standards that you cannot avoid.
What Is a Steam Sauna (Steam Room)?
A steam sauna (also commonly referred to as a steam room) involves a steam generator that heats water to produce warm and humid air (100% humidity) at a temperature of typically between 110°F and 120°F.
Unlike the traditional dry sauna that uses heated rocks or infrared panels a homemade steam sauna is dependent on moisture and air tight construction to maintain a consistent humidity.
Planning Before Building a Steam Sauna at Home
Before you begin constructing the sauna at home, planning is very important. Poor preparation results in mold problems, leaks, or poor and inefficient heating.
Choose the Right Location
- Indoor Steam Sauna: Most common for convenience. You can take a small existing bathroom, a walk-in closet or a section of a basement. Access to existing plumbing and electrical lines makes this often the most cost effective route.
- Outdoor Steam Sauna: Although very popular for dry saunas, an outdoor steam room is not as common. They require a lot of insulation and weather proofing. However, if you are looking for outdoor sauna plans PDF or inspiration, take note that an outdoor steam room requires a fully insulated and waterproof shell to retain the heat and to protect the pipes from freezing.
Budgeting and Tools
If you are wondering how to make a sauna cheap, a conversion project is your best bet. A DIY project can cost from $2,000 to $8,000 depending on the size of the generator and materials of the finish (tile vs. acrylic).
Essential Tools:
- Framing square and level
- Circular saw or table saw
- Power drill
- Tile saw (if tiling)
- Wire strippers, Voltage tester
- Waterproofing membrane kit
Step by Step Construction Guide
Here is the how-to step-by-step process of building your sanctuary.
Step 1: Framing the Structure
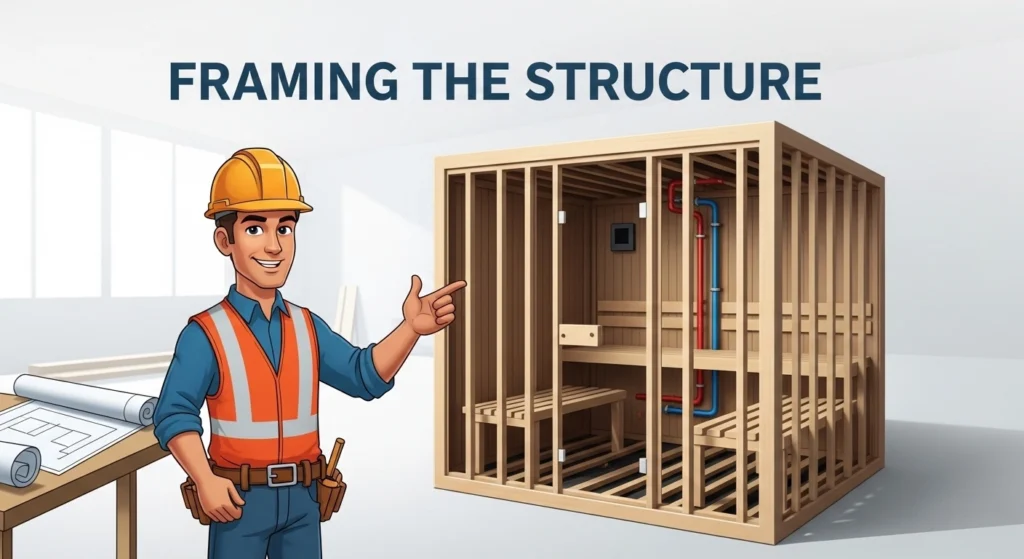
Whether you are framing a new closet or building a room from scratch, there are standard framing techniques. Use pressure treated lumber for the bottom plate if building on concrete to stop rot.
- Wall Height: Steam rises. A lower ceiling (about 7 feet) is ideal to keep the steam concentrated. If your ceiling is higher, you will need a bigger generator.
- Doorway: Frame the doorway of the door so that you can fit a custom sauna door. It must swing outwards for safety (so you can push it outwards from the inside of the door in case you feel faint).
Step 2: Insulation is Key
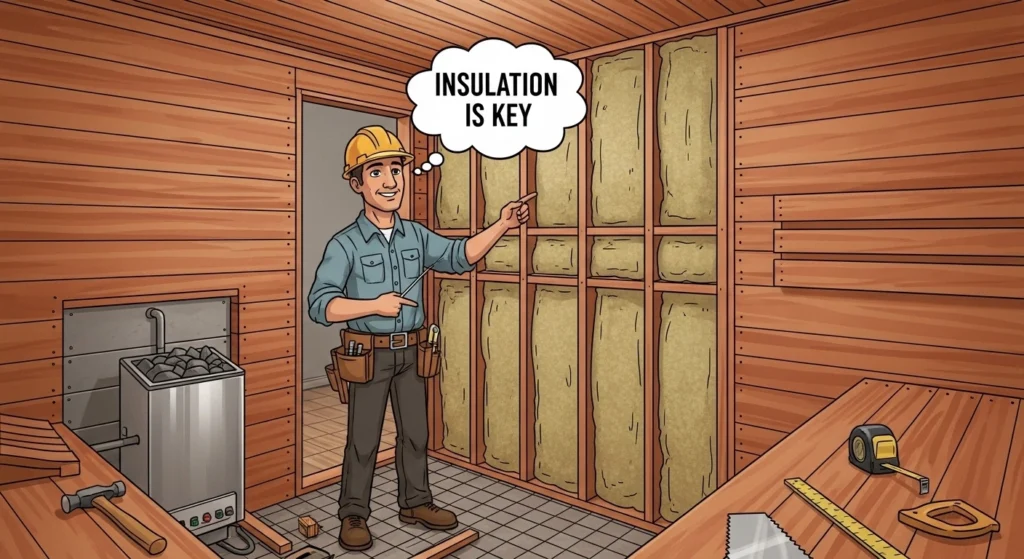
To make your homemade steam sauna energy efficient, you need to have insulation. This serves to keep the heat in and not let condensation ruin the walls behind your steam room.
- Use fiberglass batt insulation (R-13 for walls and R-19 for ceiling is recommended).
- On the inside of the insulation, install a vapor barrier (polyethylene sheeting). This prevents the moisture from penetrating the walls.
Step 3: Waterproofing (Most Critical Step)
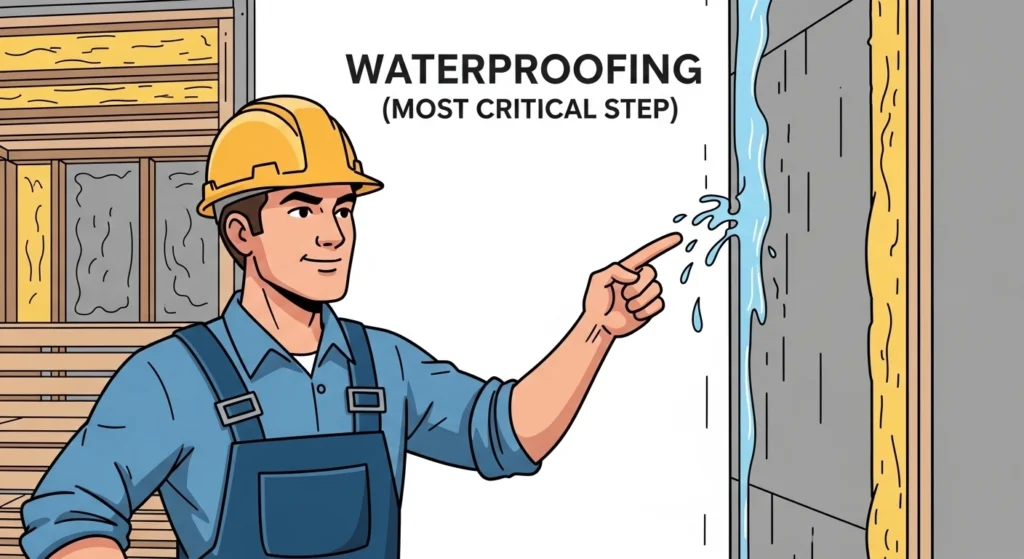
If you skip this, then you will have a mold problem within months. Unlike a dry sauna which breathes, a steam room is a wet zone.
- Cement Board: Avoid the use of drywall. Install cement backer board (like HardieBacker or Durock) on all walls and ceilings.
- Liquid Membrane: Cover the cement board with a waterproof membrane (RedGard or Laticrete) in liquid form. This produces a rubber-like seal to ensure that water is contained within the room.
- Sloped Ceiling: The ceiling must be sloped slightly (about 2 inches per foot of the ceiling) to prevent condensation dripping on your head. Dripping hot water is bothersome and it can cause burns.
Step 4: Flooring and Drainage
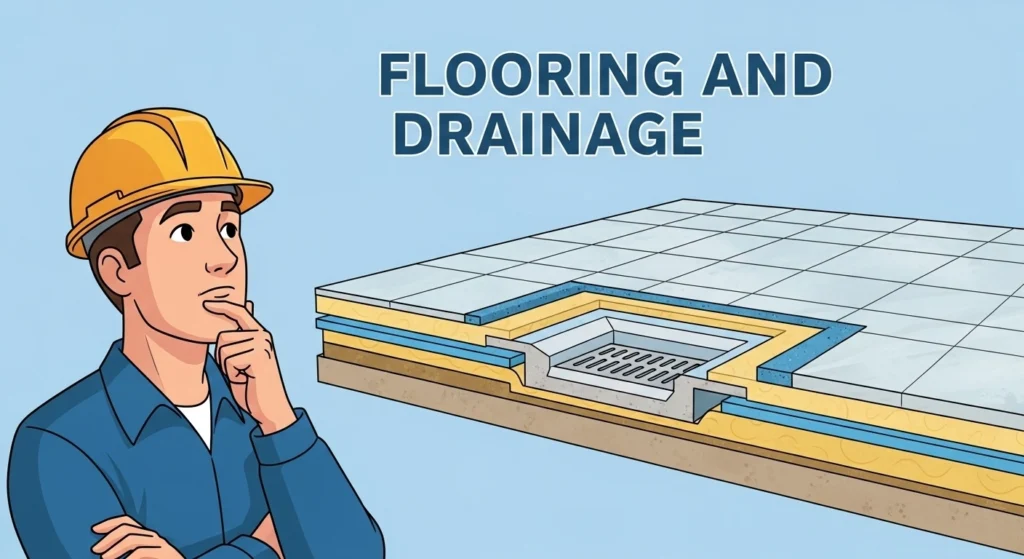
Your floor must be waterproof and slip proof.
- Slope: The floor should have a slope that leads towards a drain. This allows water to run off and not pool.
- Materials: Ceramic or porcelain tile with a textured finish is best to avoid slipping. Don’t have smooth marble or glass tiles on the floor.
- Drain: Drain is connected to your home’s plumbing. Make sure that the trap is filled with water from time to time to prevent sewer gases from entering.
Step 5: Installing the Steam Generator
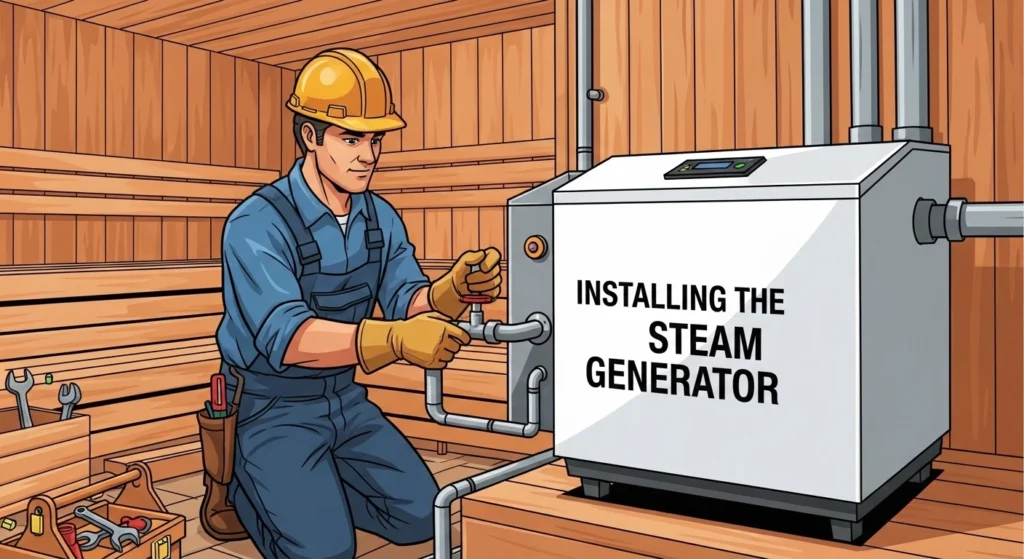
This is the engine in your project. When looking at diy sauna plans PDF you will often see instruction on the installation of wood stoves, but for steam you need a generator.
- Placement: The placement of the generator should be within 20-25 feet of the steam room (in a closet, basement, or vanity cabinet). Do not install it inside of the steam room.
- Plumbing: Attach a water line to the generator and a steam pipe from the generator into the room. The outlet of the steam should be low and away from benches to prevent accidental burns.
- Electrical: This will typically be on a 240v dedicated circuit. If you are not a licensed electrician, hire one. Water and electricity represent a deadly mixture. You will have to install a GFCI (Ground Fault Circuit Interrupter) breaker.
Step 6: Finishing Touches: The Benches and Lighting

- Benches: For true steam room use, you can use plastic lumber or tiled benches although many folks prefer marine grade plywood covered with waterproof membrane and tiled. If you like the appearance of wood, make sure it is rot resistant, although wood decays more quickly in 100% humidity, than in dry heat.
- Lighting: Only use waterproof, vapor-sealed LED lighting fixtures certified for wet locations.
- Controller: Install the control panel in the room (away from the steam head) or outside of the room near the door.
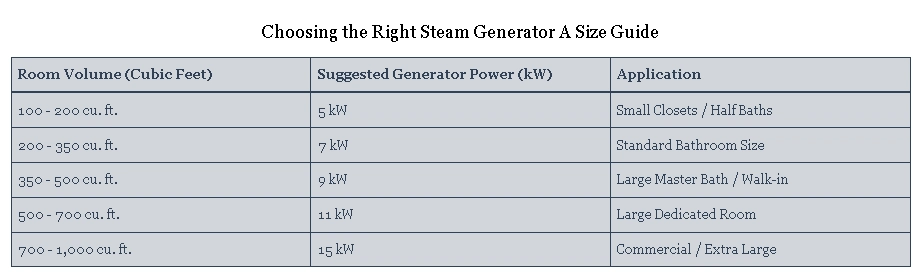
Choosing the Right Steam Generator A Size Guide
One of the most common questions we are asked is in the size of the generator. Getting this wrong is a disaster to the experience. If the unit is too small the room will not heat up. If it’s too big, you waste money.
Use this simple chart to fill your room’s volume (Length x Width x Height) to estimate the right size.
| Room Volume (Cubic Feet) | Suggested Generator Power (kW) | Application |
|---|---|---|
| 100 – 200 cu. ft. | 5 kW | Small Closets / Half Baths |
| 200 – 350 cu. ft. | 7 kW | Standard Bathroom Size |
| 350 – 500 cu. ft. | 9 kW | Large Master Bath / Walk-in |
| 500 – 700 cu. ft. | 11 kW | Large Dedicated Room |
| 700 – 1,000 cu. ft. | 15 kW | Commercial / Extra Large |
Note: If you have a lot of glass or stone surfaces, go up one size in power, as these materials absorb heat.
Ventilation & Safety Features
Knowing how to make sauna at home safe is as important as making it useful.
Ventilation
Even though you want to keep steam in, you need a small vent.
- Input: Small air intake vent near the floor ( oftentimes behind the door).
- Exhaust: A vent near the ceiling, or a “light baffle” design. This permits fresh air to circulate and prevents the room from becoming stale and thus also helps dry the room out after use.
Safety Checklist
- GFCI Protection: Required on all electrical circuits in a wet location. GFCI mean(Ground Fault Circuit Interrupter)
- Door Swing: The door should be able to swing outwards.
- Thermostat Limit: Make sure the generator comes with a switch of high limit that turns off the power if the temperature gets too high (normally around 125°F – 130b°F).
- Seating: Benches should be round piced edges for comfort and safety.
Converting an Existing Shower into a Steam Sauna
If the idea of framing a room from the ground up is too much, you may be curious to know how to turn your shower into a steam sauna. This is a popular shortcut in smaller spaces.
- Enclose the Opening: If you have a tub/shower combo, you need to put a cover over the tub or make a door that hits the ceiling.
- Seal the Vents: Cover any exhaust fans inside the shower area (steam will just suck out). You need a separate exhaust fan outside the steam room which relieves the air after use.
- Install the Generator: You can still install a small residential steam generator under a vanity or in a closet nearby.
- Ceiling: If the ceiling of your shower is very high, consider slanted cover or drop ceiling to reduce the height for better retention of steam.
Maintenance: Keeping Your Steam Sauna Clean
A homemade steam sauna needs maintenance to prevent mold and mildew on a regular basis.
- After Every Use: Clean the benches and walls with a towel or squeegee. Leave the door slightly open to allow drying out of the room.
- Weekly Cleaning: Do a mild, non-abrasive cleaning of tile surfaces.
- Monthly Checks: Check the steam head for mineral build-up (calcification). Most generators have a “auto-flush” feature to clean the tank – use them.
- Mold Prevention: Check the grout lines and corners for any black spots. Re-seal grout annually if required.
You May Also Like To Read:
FAQs
Can I use wood in a steam Sauna?
Although traditional dry saunas are made of wood, a steam room (100% humidity) is not kind to wood. Wood would warp or rot eventually. If you are a fan of the wood look, choose composite decking materials or teak, which takes moisture better than cedar or spruce.
How much does it cost to build a steam sauna?
If you are doing the labor yourself, costs will normally range from $2,500 to $6,000. Steam generator is the highest cost ($1,000 – $3,000). Hiring a contractor will add up to this price significantly.
Do I need a special door?
Yes. You will not be able to use a standard interior door. It must be a sealed, tempered glass door (or solid core wood) which is completely gasketed to prevent steam from escaping.
Is it cheaper to construct a prefab unit or purchase one?
Prefab units are available and they range between $1,500 to $5,000. Building your own means that you can customise shape and size, and may be cheaper if you are handy. However, prefab units take less time to install.
How long does it take to heat up?
An average residential steam generator takes 10 to 20 minutes to fill the room with steam. You can get a smart controller and turn it on before you even walk in the bathroom.
Final Thoughts
Learning how to build a steam sauna at home is a journey worth the effort every time you relax in your personal spa. While it is a concern for proper attention to waterproofing and electrical safety, the result is a luxurious addition to your home that promotes health and relaxation.
Whether you choose to convert a closet that isn’t being used to a dedicated space, the principles are the same: seal it tight, insulate it well and choose the right generator. With the right diy sauna plans, combined with a little elbow grease, you can produce a sanctuary that rivals any high-end spa.
Ready to start your build? Ensure that you are adhering to local building codes and hiring professionals for electrical and plumbing work to ensure that your project is safe and up to code.